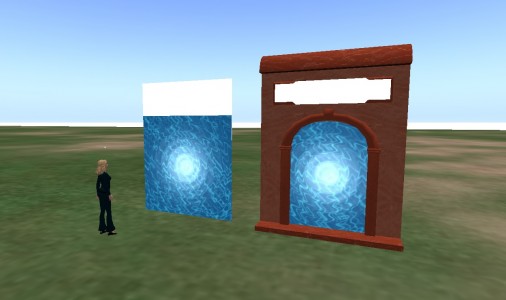
For my hypergate portals, I’ve been using a texture I made a few years back, before I really knew my way around GIMP. So it’s a little jerky.
Tonight, I made a new texture and it’s much simpler and easier than the first time I did it.
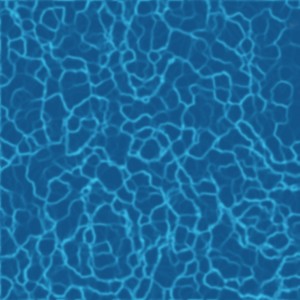
First, you make a simple water texture. I followed these instructions by Auryn Beorn to create the base texture itself.
Here it is below, if you’d like to use it. I’m donating it to the public domain, as a CCO texture. So — no rights issues!
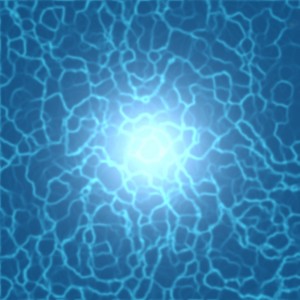
Then I create a central glow effect with Filters->Light and Shadow->Lighting Effects.
On the first tab, I moved the light source to the center and set the distance to 0.4, and on the “Light” tab, I set the Intensity to 0.75 — and adjusted the X and Y position so they’re both 0.5 and and the Z position to 7.0.
That created a nice central glow:
Then I scaled this image — which was originally 1,024 by 1,024 pixels — to 256 by 256. And used Filters->Animation->Waves with an amplitude of 5, wavelength of 10, and 16 frames.
Here is the result, saved as an animated GIF:
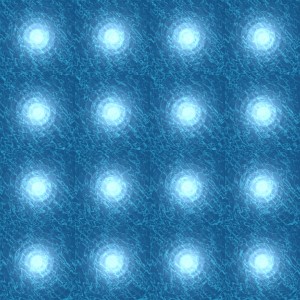
But wait, you might say — you can’t use GIFs in OpenSim. Or Second Life. So what I have to do is take this 16-panel animation and turn it into a checkerboard-style layout, with each cell of the animation as a different square on the board.
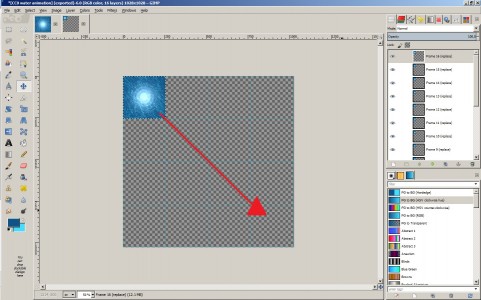
So, IÂ go to Image->Canvas Size and set it to 1,024 by 1,024. Now my little animation — which is a stack of 16 layers — sits in the top left corner of a canvas that’s mostly blank.
Then I go to Image->Configure Grid and set up a grid with spacing of 256 pixels in both width and height and under “View” I check both “Show Grid” and “Snap to Grid.”
Then I click on the move icon — also under Tools->Transform Tools->Move — and click on the top-most layer — the one visible on the top left and drag it all the way to bottom right.
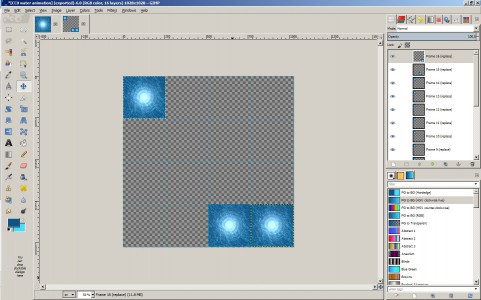
Now there’s another blue glowy square under that one. I drag it to the bottom row, second square from the right.
I keep doing this until the bottom row is filled. The “Snap to Grid” makes lining them up easy. Once I filled up the bottom row, I fill up the next row up, again starting from the right. Then the second row, then the first.
The longest part of the whole process was typing up this explanation and taking the screenshots.
Now save the result in JPG or PNG or whatever format you prefer. Here is the result, which, again, is licensed CC0:
Click on the image above to open the full-sized file and drop it onto any of my hypergates, such as the one I wrote about earlier this week.
I just uploaded it to my grid and slapped it onto my old gate, and it looks really nice.
And smooth — not jittery like my previous one.
In case you just need the command for animating the texture, it’s this:
llSetTextureAnim(ANIM_ON | LOOP, 1, 4, 4, 0.0, 16, 5);
You might want to replace that first number “1” with the number of the face your texture is on.
- OSgrid back online after extended maintenance - April 16, 2025
- Analysts predict drop in headset sales this year - March 25, 2025
- OSgrid enters immediate long-term maintenance - March 5, 2025

