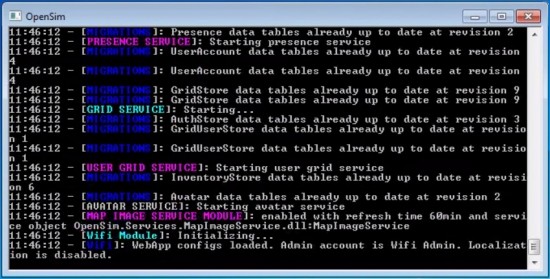
A new version of OpenSim was recently released, OpenSim 0.7.4. There’s an upgrade function built into the Diva Distro version of OpenSim and its derivatives, including Sim-on-a-Stick and New World Studio. The updated version of the Diva Distro came out this past Wednesday, and the new Sim-on-a-Stick was released yesterday. (Check out the great getting started video from Ener Hax.)
The updated version of the New World Studio is due out in “some weeks,” said developer Oliver Battini in a Facebook post Monday.

However, for those grids that have set things up from scratch — or have customized their grids — the upgrade process can be significantly more involved.
The steps for upgrading your system probably will be unique to your particular grid in some ways – depending on what items you have customized, your file structure, and so on.
I’m happy to share the steps I follow in case that might be helpful. In general, you should be able to keep all of your additional services and configuration options when you upgrade.
Here’s a quick outline of the steps I follow:
STEP 1. Back up your database and take OAR snapshots of all regions. This is the MOST important step! You want to make sure you can always fully restore your old setup in case something goes terribly awry with the
upgrade.
STEP 2. Download the newest version of OpenSim and unzip to a NEW directory. CAREFULLY read the release notes to make sure you understand any new configuration options or changes to old configuration options before proceeding.
STEP 3. Open the old and new /bin/opensim.ini files side by side and copy settings over by hand, checking carefully line-by-line for new configuration options or changes that need to be made to old configuration options (based on release notes). NEVER just overwrite the new file with the old file – it is best to go through it line-by-line.
STEP 4. Ditto for /bin/robust.HG.ini file. NEVER just overwrite the new file with the old file – it is best to go through it line-by-line.
STEP 5. Ditto for /bin/config-include/gridcommon.ini. NEVER just overwrite the new file with the old file – it is best to go through it line-by-line.
STEP 6. You CAN copy over your regions.ini file from the old to the new.
STEP 7. Download the newest version of Diva Wifi for Robust and follow installation instructions. ALWAYS read the latest release notes and installation instructions before copying over old config information to new
.ini files.
STEP 8. Copy any customized graphics or html files from old Diva Wifi to new Diva Wifi sub-directory.
STEP 9. Download the newest version of any other modules/add-ons you’re using and follow installation instructions. ALWAYS read the latest release notes and installation instructions before copying over old config information to new .ini files.
STEP 10. If you use smart-start and backup scripts, configure for new directory names.
Then cross your fingers, hold your breath, and start everything up.
I have very detailed notes about previous upgrades I’ve done, plus additional info about doing backups and other things at fleep.wikispaces.com/FleepGrid.
You can search for the 2/26/12 entry — it’s about a fifth of the way down the page, if you prefer to scroll — to see step-by-step what I did the last time I upgraded, including copies of my .ini files as examples.
I’ll be upgrading to 0.7.4 this weekend and will have updated notes on the same page soon.
- Fleep’s reflections on the first annual OpenSim conference - October 6, 2013
- How to upgrade your grid - September 8, 2012
- Should virtual environments be realistic? - May 7, 2012
